Getting Started
Getting started with Tagboat is quick and easy:
1. Choose Folders
Start by choosing one or more folders whose files you want to tag. Drag the folders into Tagboat’s “Managed Folders” list, or add them to it using the “+” button.
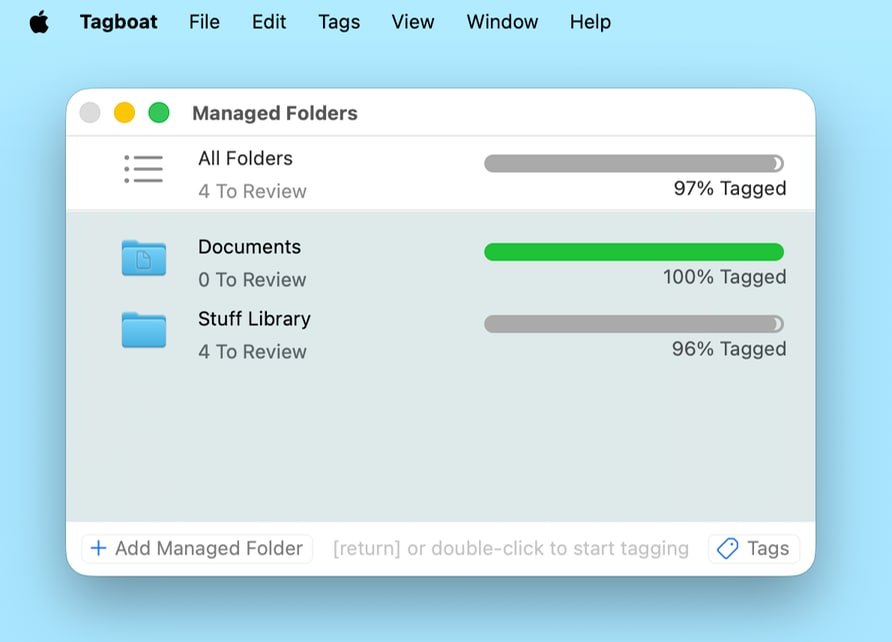
Tagboat scans the folders and tells you what fraction of the files they contain haven’t been tagged. The scan goes all the way down through sub-folders to give you a complete assessment of everything in the folder’s subtree.
Tagboat Pro supports as many managed folders as you want. The free edition lets you try Tagboat out with up to two managed folders. If you have two or more managed folders, Tagboat shows your overall tagging progress for “All Folders” at the top of the window, as pictured above.
2. Tag Files
To start tagging a folder’s files, you can either double-click the folder, or select it and press [return]. This takes you into the file tagging view.

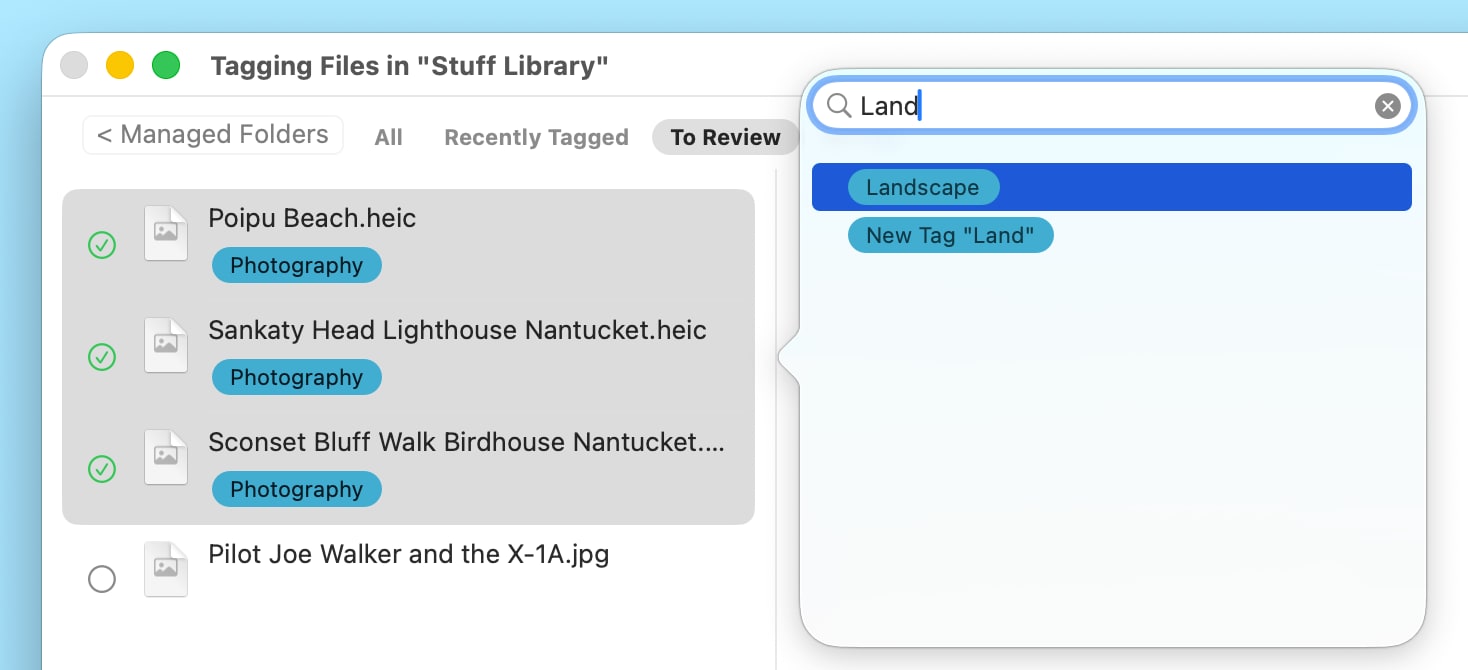
The file tagging view shows you a filtered list of the folder’s content. It starts out showing the files that need review: files that don’t yet have any tags. You can also choose to see all of the folder’s files, files you’ve recently tagged, or all of the files that have no tag assigned, by choosing “All”, “Recently Tagged”, or “No Tag”, respectively, using the filter buttons at the top of the file tagging view:

You can start tagging the selected file by simply staring to type, by pressing [return], by double-clicking the file in the file list, or by clicking in the tag view below the filename. This gives you an insertion point at the end of the file’s tag list, and a completion popup that contains all of the tags found in the folders you’ve added.
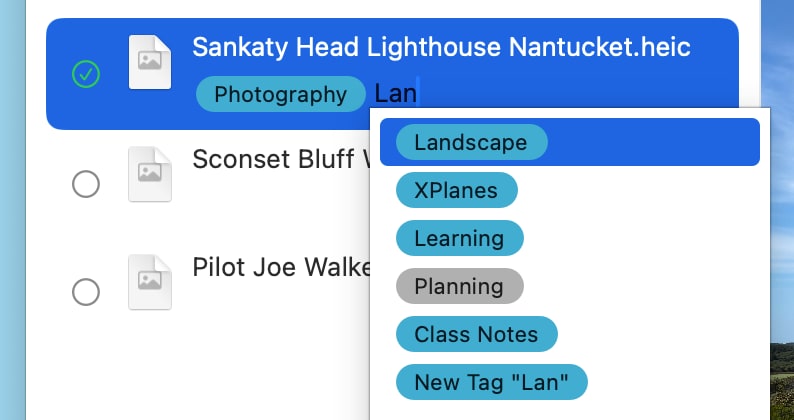
You can add an already-used tag by typing a few characters of its name until it’s selected in the completion list, then pressing [return], or by typing the tag’s hotkey if you’ve assigned one. You can also create a new tag by typing the name you want for it, then pressing [return] to accept the “New Tag (Name of Your Tag)“ item that appears at the bottom of the completion list. This adds the tag to the file, and also to the set of known tags that you can easily apply in the future.
3. Navigate
When you’re done adding tags to a file, you can press [return] or [esc] to exit tag editing for it, then use the down arrow to advance to another file. Or, you can double-click any other file that you want to tag.
If you want to apply the same tags to a set of files simultaneously, you can select the files by dragging or using [shift]+click, then press [return] to select the tags to add as described above.
By default, the file tagging view shows a QuickLook preview of the selected file on the right side of the window, when a single file is selected. You can resize this preview if desired by dragging the vertical splitter between it and the file list. You can also hide it using the “Hide Preview” command in Tagboat’s “View” menu.
When you’re done tagging files in the entered area and want to return to the “Managed Folders” list, just hit [esc] or click the “Managed Folders” button at the window’s top-left corner.